Keeping your bike’s chain clean is essential for smooth and efficient rides. Not only does a clean chain prolong its lifespan, but it also improves shifting and reduces wear on other components. In this article, you will discover a simple step-by-step guide on how to clean the chain on your bike effectively. From gathering the necessary tools to applying the right cleaning solution, you’ll learn all the tips and tricks to keep your bike’s chain in pristine condition. So, get ready to pedal smoothly and effortlessly as we dive into the world of chain maintenance and leave your bike looking and performing its best.
Preparation
Before you start cleaning the chain on your bike, it’s important to gather the necessary materials. You will need a chain breaker tool, degreaser, a chain cleaning brush, water, a cassette brush, a chain wear indicator, and a suitable bicycle chain lubricant. These materials will ensure that you have everything you need to effectively clean and maintain your chain.
Once you have all the materials, choose a suitable location to work on your bike. It’s best to find a well-ventilated area with enough space for you to comfortably work on your bike. This could be your garage, a backyard, or a designated bike maintenance area. By choosing a suitable location, you can ensure that you have enough room to maneuver and can avoid any potential accidents or damage.
Removing the Chain
To begin the process of cleaning your bike’s chain, start by shifting the gears to the smallest chainring and the smallest rear cog. This will relieve any tension on the chain and make it easier to remove.
Next, use a chain breaker tool to remove the chain. Align the chain breaker tool with a chain pin and turn the handle until the pin is pushed out enough to separate the chain. Take care not to push the pin all the way out, as this will make reinstallation more difficult.
After removing the chain, take a moment to inspect it for any signs of damage. Look for stretched links, tight links, or any other issues that may affect the chain’s performance. If you notice any significant damage, it may be time to replace the chain entirely.
Cleaning the Chain
Once you have removed the chain from your bike, it’s time to clean it. Start by using a degreaser to remove the dirt and grime that has accumulated on the chain. Apply the degreaser generously to the chain, making sure to cover all the links.
After applying the degreaser, take a chain cleaning brush and scrub the chain thoroughly. This will help to loosen any stubborn dirt or grime that may be stuck to the chain. Pay extra attention to the areas between the links and the outer plates, as these tend to collect the most dirt.
Once you have scrubbed the chain, rinse it off with water to remove any remaining degreaser and dirt. It’s important to rinse the chain thoroughly to ensure that all the cleaning residue is removed. Make sure to get into all the nooks and crannies of the chain to achieve a thorough rinse.
After rinsing, dry the chain thoroughly to prevent any moisture from causing rust or corrosion. You can use a clean cloth or towel to wipe off the excess water from the chain. Make sure to get all sides of the chain to ensure an even drying process.
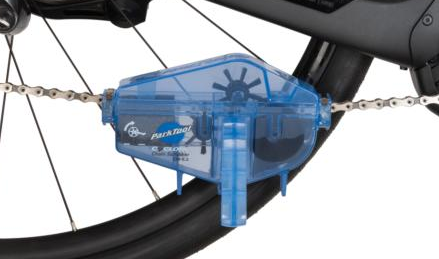
You can use one of the many reservoir systems which has rotating brushes, as pictured below
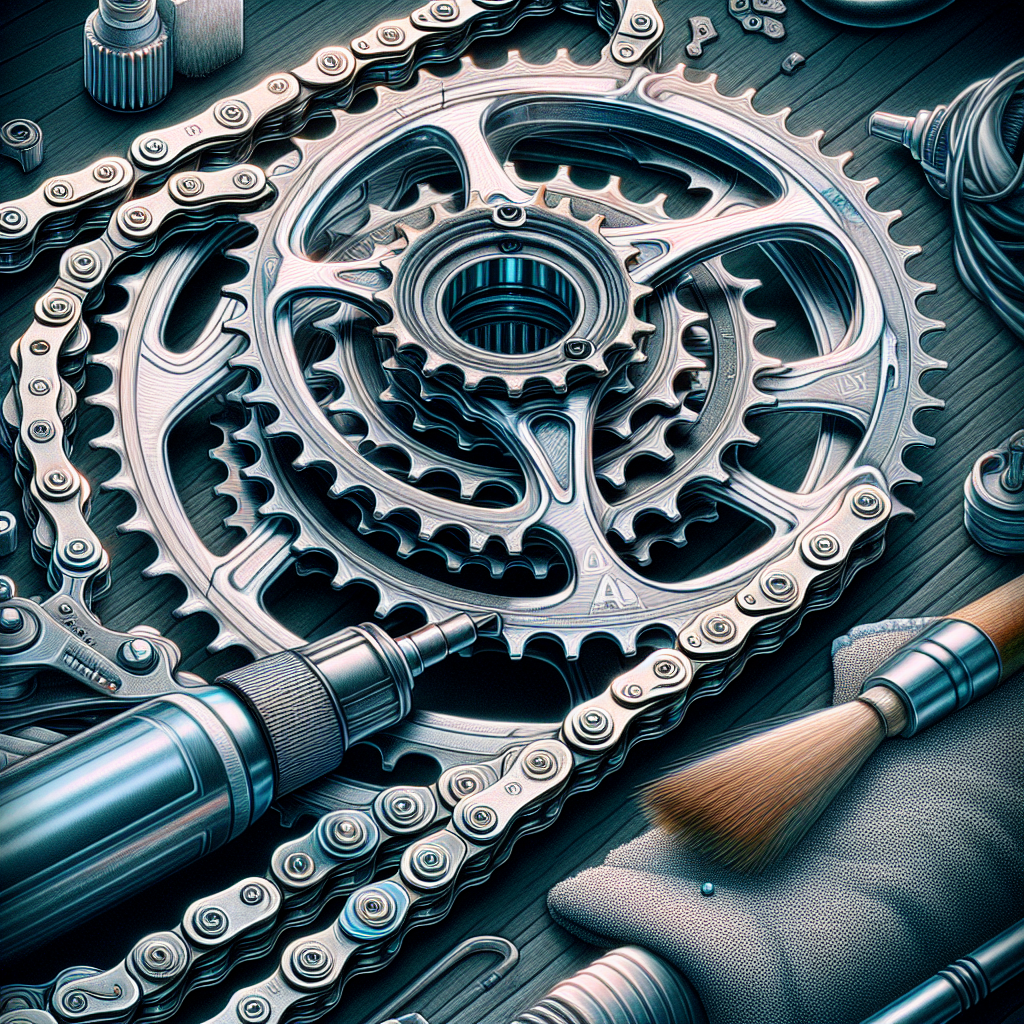
Cleaning the Chainrings and Cassette
While cleaning the chain is important, it’s also crucial to clean the chainrings and cassette. If necessary, remove the chainrings and cassette from the bike to ensure a thorough cleaning.
Apply degreaser to the chainrings and use a brush to scrub away any dirt or grime. Pay close attention to the teeth of the chainrings, as these can accumulate a lot of debris. Scrub thoroughly to ensure that all the dirt is removed.
Next, clean the cassette using a cassette brush. Insert the cassette brush between the cogs and scrub away any dirt or grime. Take your time and make sure to clean all the surfaces of the cassette. Rinse off the chainrings and cassette with water and dry them thoroughly.
Inspecting the Chain
After cleaning the chain, it’s important to inspect it for any signs of wear or damage. One way to do this is by using a chain wear indicator. This tool will help you determine if your chain is worn beyond a certain point and needs to be replaced.
To check for chain wear, place the chain wear indicator into one of the chain links. If the tool fits into the chain without any resistance, it may be time to replace the chain. Chains that are excessively worn can lead to poor shifting performance and even cause damage to other drivetrain components.
Applying Lubrication
Once you have cleaned and inspected the chain, it’s time to apply lubrication. Select a suitable bicycle chain lubricant that is appropriate for your riding conditions and the weather. Different lubes are designed for different purposes, so choose one that suits your needs.
To apply the lubricant, turn the pedals backward while slowly dripping the lubricant onto the chain. This will ensure that the lubricant evenly coats all the chain links. Be careful not to apply too much lubricant, as this can attract even more dirt and grime.
After applying the lubricant, take a clean cloth or towel and wipe off any excess. This will prevent the chain from becoming overly greasy and collecting dirt during your rides.
Reinstalling the Chain
Now that you have cleaned, inspected, and lubricated the chain, it’s time to reinstall it on your bike. Using a chain breaker tool, reattach the chain by aligning the pins with the corresponding chain links. Push the pin back into place using the chain breaker tool and make sure it is securely in position.
Ensure that the chain is properly aligned and tensioned. It should pass through the derailleurs smoothly and without any excessive slack or tightness. If necessary, adjust the tension using the derailleur’s barrel adjuster until the chain is in the correct position.
Testing the Chain
Once the chain is back on your bike, it’s important to test it to ensure smooth operation. Shift through all the gears to ensure that the chain moves seamlessly between the chainrings and cassette. Pay attention to any unusual noises or skipping that may indicate a problem with the chain or drivetrain.
If you notice any issues during the test, it’s best to address them promptly. It could be a sign of a worn chain or other drivetrain components that may need to be replaced or adjusted.
Maintenance Tips
To keep your chain in optimal condition and prolong its lifespan, it’s important to follow some maintenance tips. Regularly clean and lubricate the chain to remove dirt, grime, and moisture that can cause damage. This will also ensure smooth shifting and minimize wear on the chain and other drivetrain components.
When applying lubricant, avoid over-lubricating the chain. Excess lubricant can attract more dirt and grime, which can lead to chain wear and decreased performance. It’s best to apply a moderate amount and wipe off any excess to maintain a clean and well-lubricated chain.
Lastly, make it a habit to inspect the chain for any signs of wear or damage. Regular inspections will help you identify any issues early on and prevent further damage. If you notice any stretched links, tight links, or excessive wear, it may be time to replace the chain to prevent any further problems.
By following these steps and incorporating regular chain maintenance into your bike maintenance routine, you can ensure that your chain performs optimally and lasts longer, giving you a smooth and enjoyable riding experience.